1. CMake 컴파일러 및 VSCode용 플러그인 설치
복수의 소스코드를 컴파일하기 위해서는 cmake 가 필요하므로 Ubuntu에서 아래와 같이 설치한다.
swift@swift-HP-Pavilion-dv6-Notebook-PC:~/Desktop$ sudo apt  install cmake
[sudo] password for swift:
Reading package lists... Done
Building dependency tree
Reading state information... Done
The following package was automatically installed and is no longer required:
  libllvm11
Use 'sudo apt autoremove' to remove it.
The following additional packages will be installed:
  cmake-data libjsoncpp1 librhash0
Suggested packages:
  cmake-doc ninja-build
The following NEW packages will be installed:
  cmake cmake-data libjsoncpp1 librhash0
0 upgraded, 4 newly installed, 0 to remove and 0 not upgraded.
Need to get 5,470 kB of archives.
After this operation, 28.3 MB of additional disk space will be used.
Do you want to continue? [Y/n] Y
Get:1 http://kr.archive.ubuntu.com/ubuntu focal/main amd64 cmake-data all 3.16.3-1ubuntu1 [1,612 kB]
Get:2 http://kr.archive.ubuntu.com/ubuntu focal/main amd64 libjsoncpp1 amd64 1.7.4-3.1ubuntu2 [75.6 kB]
Get:3 http://kr.archive.ubuntu.com/ubuntu focal/main amd64 librhash0 amd64 1.3.9-1 [113 kB]
Get:4 http://kr.archive.ubuntu.com/ubuntu focal/main amd64 cmake amd64 3.16.3-1ubuntu1 [3,669 kB]
Fetched 5,470 kB in 4s (1,550 kB/s)
Selecting previously unselected package cmake-data.
(Reading database ... 197922 files and directories currently installed.)
Preparing to unpack .../cmake-data_3.16.3-1ubuntu1_all.deb ...
Unpacking cmake-data (3.16.3-1ubuntu1) ...
Selecting previously unselected package libjsoncpp1:amd64.
Preparing to unpack .../libjsoncpp1_1.7.4-3.1ubuntu2_amd64.deb ...
Unpacking libjsoncpp1:amd64 (1.7.4-3.1ubuntu2) ...
Selecting previously unselected package librhash0:amd64.
Preparing to unpack .../librhash0_1.3.9-1_amd64.deb ...
Unpacking librhash0:amd64 (1.3.9-1) ...
Selecting previously unselected package cmake.
Preparing to unpack .../cmake_3.16.3-1ubuntu1_amd64.deb ...
Unpacking cmake (3.16.3-1ubuntu1) ...
Setting up librhash0:amd64 (1.3.9-1) ...
Setting up cmake-data (3.16.3-1ubuntu1) ...
Setting up libjsoncpp1:amd64 (1.7.4-3.1ubuntu2) ...
Setting up cmake (3.16.3-1ubuntu1) ...
Processing triggers for man-db (2.9.1-1) ...
Processing triggers for libc-bin (2.31-0ubuntu9.2) ...
swift@swift-HP-Pavilion-dv6-Notebook-PC:~/Desktop$
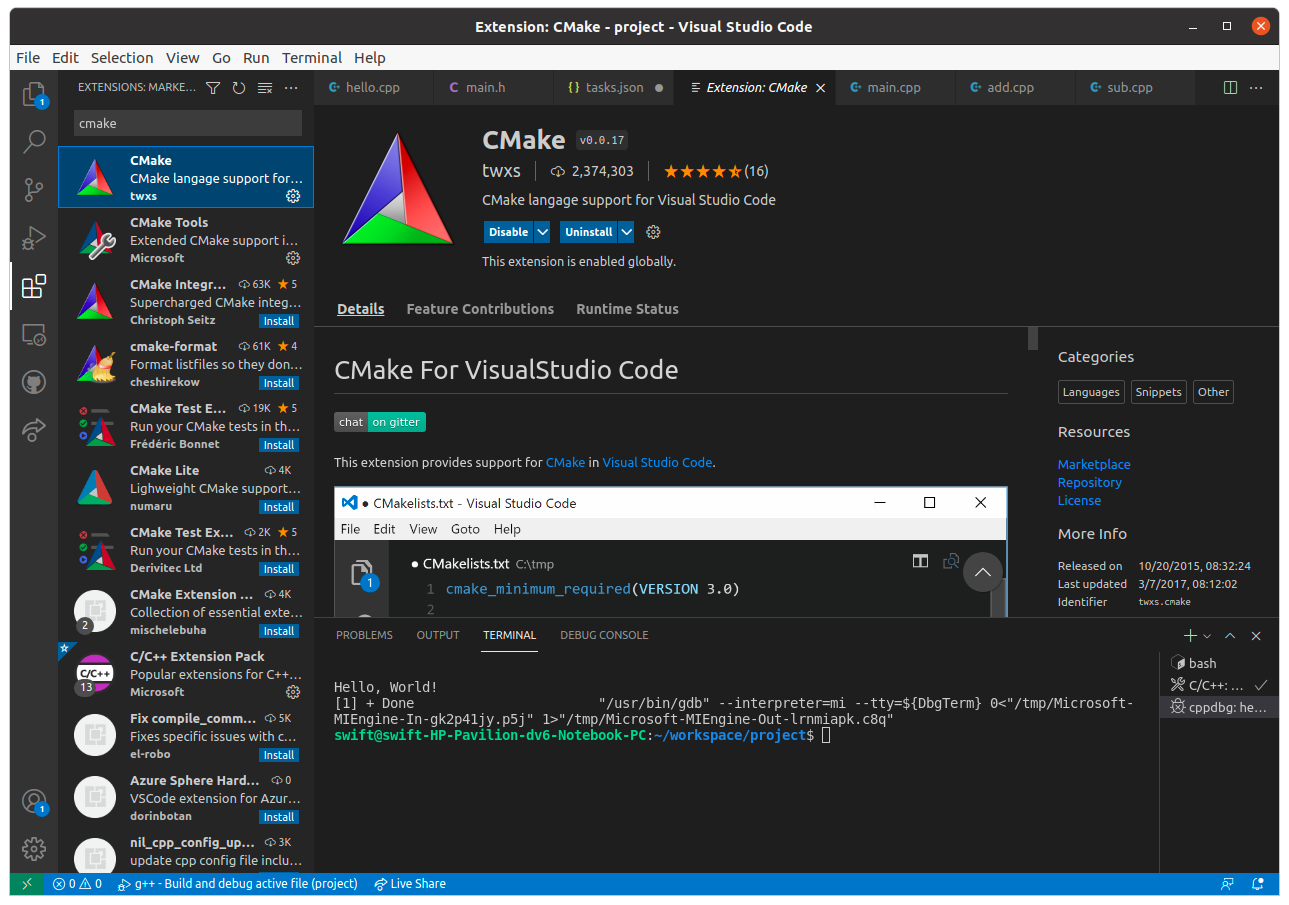
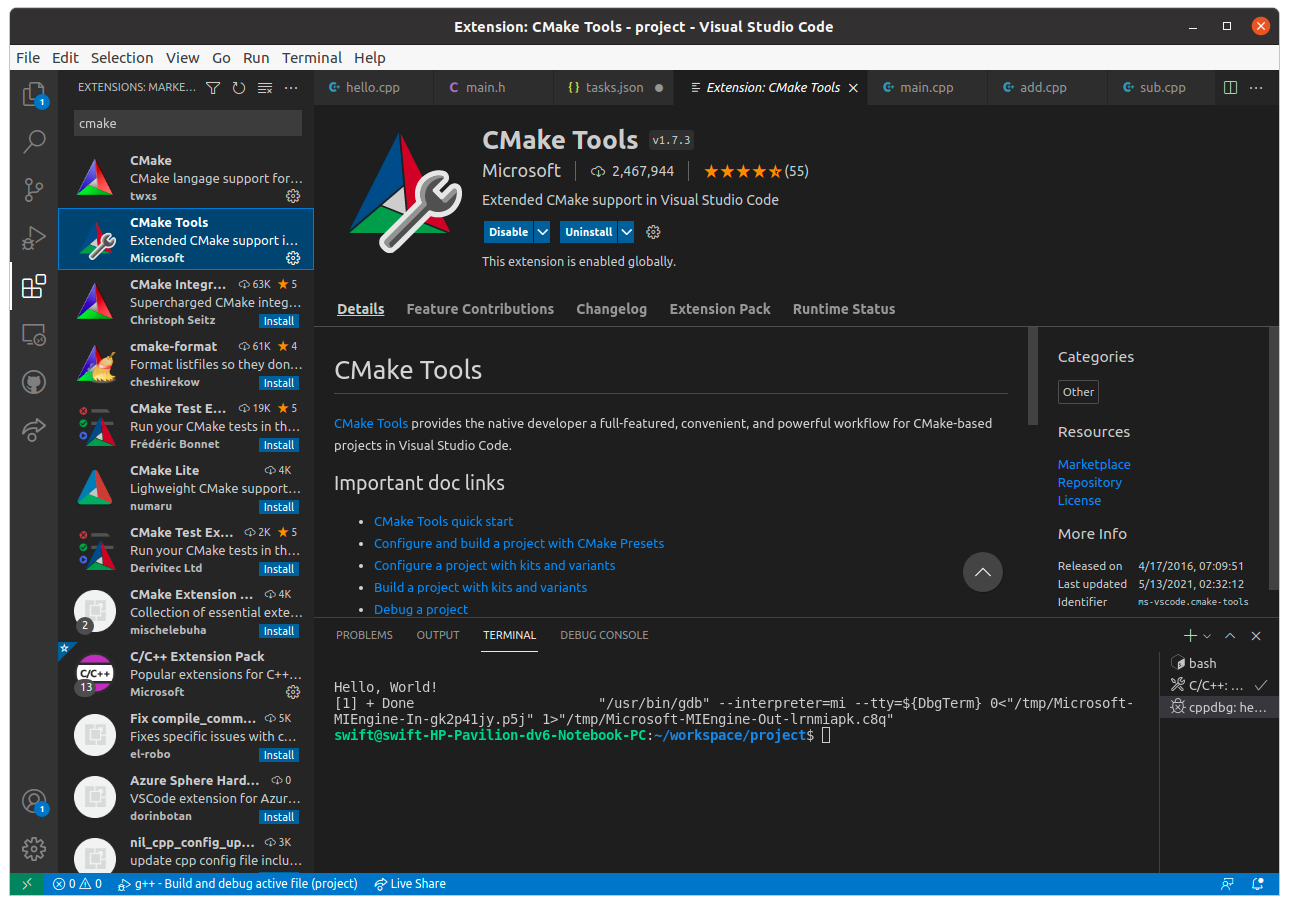
vscode에서는 CMake 과 CMake Tools 플러그인을 설치한다.
2. VSCode에서 CMake로 컴파일하기
아래와 같이 예제 코드를 작성한다.
add.cpp
#include "main.h"

int add(int a, int b)
{
    int c;

    c = a + b;

    return c;
}
sub.cpp
#include "main.h"

int sub(int a, int b)
{
    int c;

    c = a - b;

    return c;
}
main.h
int sub(int a, int b);
int add(int a, int b);
main.cpp
#include <iostream>
#include "main.h"

int main()
{
    int a = 1;
    int b = 2;

    int c = add(a, b);
    int d = sub(a, b);

    std::cout << c << " " << d << std::endl;

    return 0;
}
기존에 만들어진 tasks.json 파일에 cmake 관련 taks를 아래와 같이 추가한다.
{
    "version": "2.0.0",
    "runner": "terminal",
    "type": "shell",
    "echoCommand": true,
    "presentation": {
        "reveal": "always"
    },
    "tasks": [
        {
            "label": "save and compile for C++",
            "command": "g++",
            "args": [
                "${file}",
                "-g",
                "-o",
                "${fileDirname}/${fileBasenameNoExtension}"
            ],
            "group": "build",
            "problemMatcher": {
                "fileLocation": [
                    "relative",
                    "${workspaceRoot}"
                ],
                "pattern": {
                    "regexp": "^(.*):(\\d+):(\\d+):\\s+(warning error):\\s+(.*)$",
                    "file": 1,
                    "line": 2,
                    "column": 3,
                    "severity": 4,
                    "message": 5
                }
            }
        },
        {
            "label": "save and compile for C",
            "command": "gcc",
            "args": [
                "${file}",
                "-g",
                "-o",
                "${fileDirname}/${fileBasenameNoExtension}"
            ],
            "group": "build",
            "problemMatcher": {
                "fileLocation": [
                    "relative",
                    "${workspaceRoot}"
                ],
                "pattern": {
                    "regexp": "^(.*):(\\d+):(\\d+):\\s+(warning error):\\s+(.*)$",
                    "file": 1,
                    "line": 2,
                    "column": 3,
                    "severity": 4,
                    "message": 5
                }
            }
        },
        {
            "type": "shell",
            "label": "cmake and make build",
            "command": "cd ${fileDirname} && mkdir -p build && cd build && cmake .. && make",

            "problemMatcher": {
                "fileLocation": [
                    "relative",
                    "${workspaceRoot}"
                ],
                "pattern": {
                    "regexp": "^(.*):(\\d+):(\\d+):\\s+(warning|error):\\s+(.*)$",
                    "file": 1,
                    "line": 2,
                    "column": 3,
                    "severity": 4,
                    "message": 5
                }
            },
            "group": {
                "kind": "build",
                "isDefault": true
            }
        },
        {
            "label": "execute",
            "command": "cd ${fileDirname} &&./${fileBasenameNoExtension}",
            "group": "build",
            "problemMatcher": []
        }
    ]
}
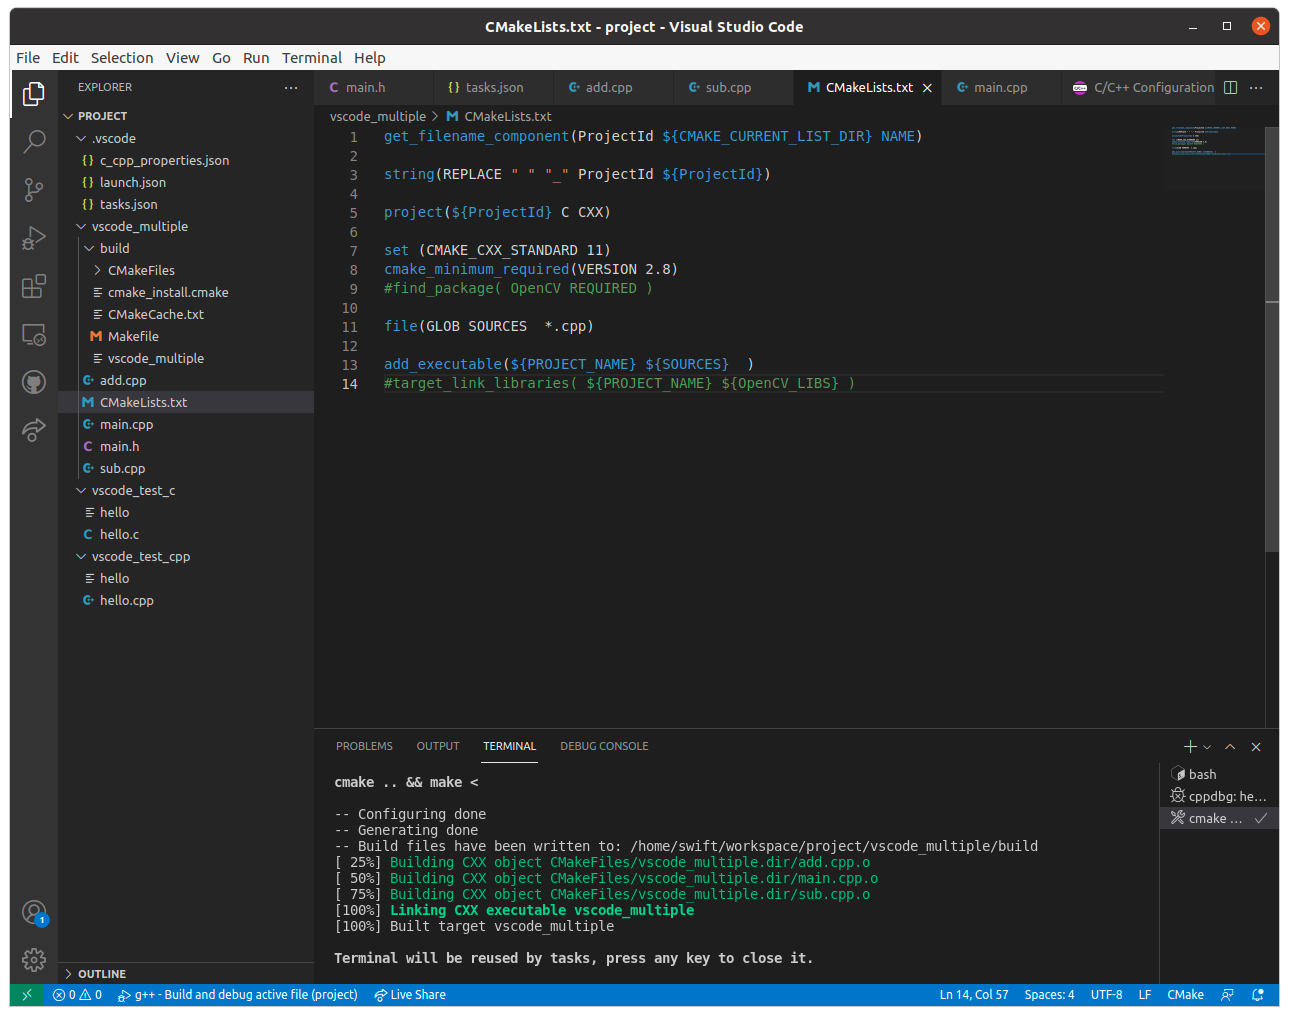
그리고 소스코드가 있는 폴더에 CMakeLists.txt를 생성하고 아래와 같이 내용을 적어준다.
get_filename_component(ProjectId ${CMAKE_CURRENT_LIST_DIR} NAME)

string(REPLACE " " "_" ProjectId ${ProjectId})

project(${ProjectId} C CXX)

set (CMAKE_CXX_STANDARD 11)
cmake_minimum_required(VERSION 2.8)

file(GLOB SOURCES  *.cpp)

add_executable(${PROJECT_NAME} ${SOURCES}  )
Terminal -> Run Task를 선택하고 그 중 이번에 추가한 cmake and make build를 선택한다. 아래 그림과 같이 프로젝트 경로상에 build폴더가 만들어지고 그 안에 Makfile 및 Excutable 파일이 생성된다.
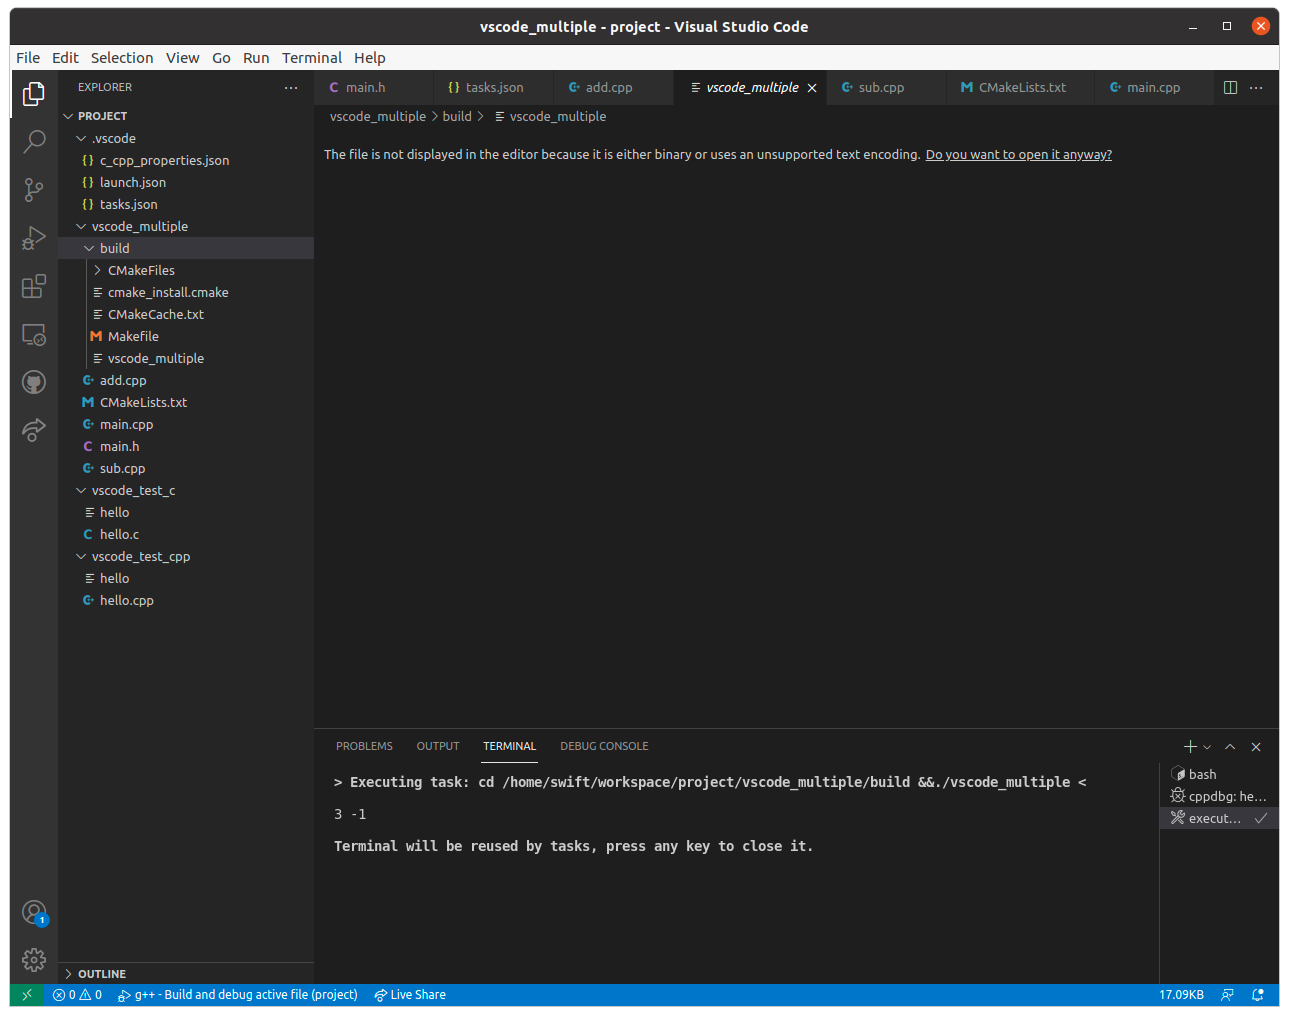
Terminal -> Run Task에서 excute를 선택하면 결과를 확인할 수 있다. 다만 주의할 점은 실행파일이 build 폴더에 생성되었기 때문에 build 폴더에서 excute를 실행해야 한다.
'엔지니어링 > 프로그래밍' 카테고리의 다른 글
| Ubuntu 20.04에서 VSCode를 이용하여 ROS 개발환경 구축하기 (4) | 2021.08.17 |
|---|---|
| Ubuntu 20.04에서 VSCode를 이용하여 OpenCV 프로젝트 개발 (0) | 2021.08.16 |
| Ubuntu 20.04에서 CMake Toolkit을 이용하여 프로젝트 빌드와 디버깅하기 (0) | 2021.08.16 |
| Ubuntu20.04에서 VSCode C/C++ 개발환경 구축하기 (9) | 2021.08.15 |
| [ Ubuntu ] 이클립스(Eclipse) 설치하기 (0) | 2021.05.15 |


댓글